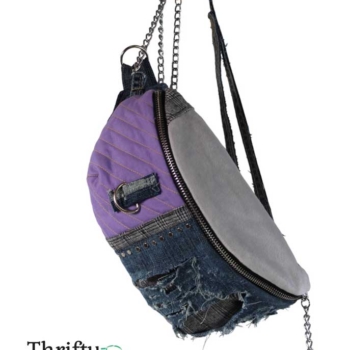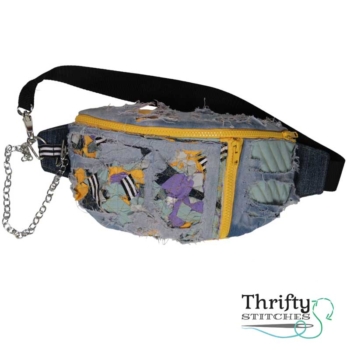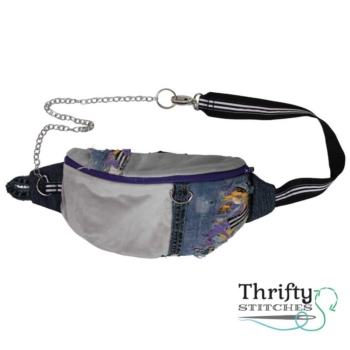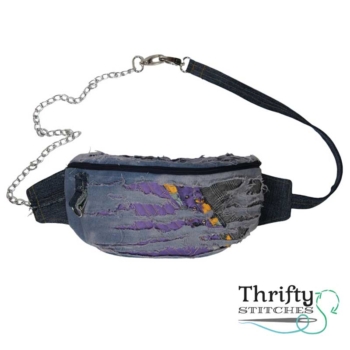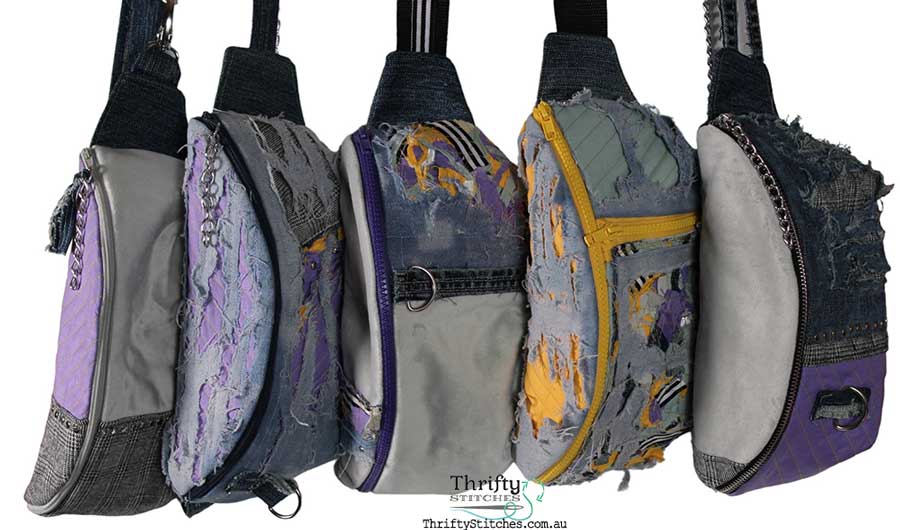
Upcycled bum bags are a fun and functional project for when you have some smaller swatches for fabric to use up. As you can see here, even much smaller pieces can be joined or patched together to create one-of-a-kind designs. I would recommend this pattern for the intermediate sewist.
Materials
Industry Salvaged and upcycled: denim, woven cotton, plaid and velour off-cuts, chains, a belt.
From Stash: D-rings, swivel clips, chains, 2 zips, padded interfacing, ribbon, buckle.
Purchased: iron-on Interfacing, zips.
Pattern
When it came to drafting a pattern, I wasn’t in the mood for any math about semi-circles – so decided to look for an easy to sew (and free) pattern online.
For this project we turn to Petite Stitchery for their Free Frost Fanny Pack pattern. The pattern sews up beautifully, and they provide instructions with clear photos of the process. The pattern includes small, medium and large size options which is also a bonus. I used the large which is about 10″wide when finished.
Small Batch Sewing
I decided to batch sew multiple bags for the sake of efficiency but make them all unique.
First, I made 5 straps including the side tab pattern pieces which sew in to the main body.

I was able to cut most of the pieces for the linings from the cottons with enough left to create some internal pockets and quilted pieces for the exterior.
I then cut the exterior pieces from the denim and scrap textile while deciding roughly which bits go with which.
Creating a unique textile
All off cuts were snipped up and laid between 2 layers of soluble interfacing.
Use plenty of pins to hold everything in place while stitching all over the panel to secure everything. Then simply dissolve the interfacing in water.
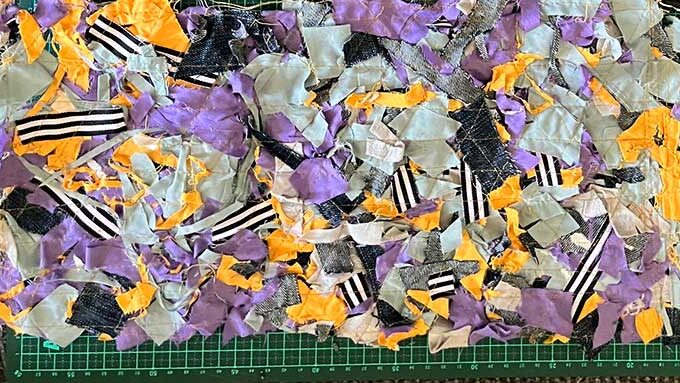
As you will see in the final results, I have placed sections of this handmade scrap textile so it is peaking from behind the distressed denim.
This is such a great way to create a one-of-a-kind textile while leaving zero waste!
Final Design & Detail
With all pattern pieces laid out in 5 groups on my dining table I began, piece-by-piece, to add the detail. This involved:
- Top stitching quilted sections.
- Creating interior pockets and sewing on to the lining.
- Attaching D-ring tabs.
- Sewing down overlaying panels.
- Distressing all the denim with a sanding bit on a Dremel. ~ If you’re planning on doing much denim distressing (or happen to be interested in a multitude of other crafts), the Dremel is such a handy tool to own. You can find the Official Dremel store on Amazon (affiliate link).
Construction
At this point I had done quite a bit of work. I thought I could just about see the finish line! – I was so wrong! But at least it provided the motivation at the time, to get those zips sewn in.
With zips in, a few studs added here and there, it was just a matter of stitching all the remaining seams. (*Refer to pattern instructions for the full process).
So the problem here was the multiple layers. Particularly in conjunction with the darker denim being quite thick, and the padded sections. The intention here was to give some structure to the bag and help it hold shape.
Overall, this worked but it was a challenge to get the machine foot right into the corners and over seams where all the parts meet at either end of the main zipper. May have broken a needle or 2 and it just overall took twice as long as expected.
I trimmed some of padding away from the seams and finished off with a bit of hand stitching to reinforce the corners.
They all came together quite successfully in the end. However, let’s go ahead and file some notes under “What I’d do differently”…
What I’d do Differently
Next time I batch sew 5 or more items and make them all unique with multiple variations and lots of detail, it should be something really simple, such as a tote bag as the base. (*There is every chance I will over complicate things next time).
Completing a single bag or practicing a mockup of the pattern first may have been wise. (The aim was to upcycle the fabric on-hand efficiently in one project)
Creating a textile, distressing denim and creating the quilted look were each a job of their own. Although 3 of the more time-consuming tasks contributed to the thickness which was difficult to sew, they are 3 main features of the overall collection. So, I would use thinner padding, create a thinner scrap textile, and consider placement of features with regards to seams and zips.
Click here to see each Upcycled Bum Bag!

To help support the time taken to document the creation of one-of-a-kind slow fashion this post contains affiliate links. I may receive a commission based on purchases made via these links. I research the products and perform price comparisons, and only share links aimed to save you time and money.
